Shadows and Anti-aliasing
Why are Shadows Important?
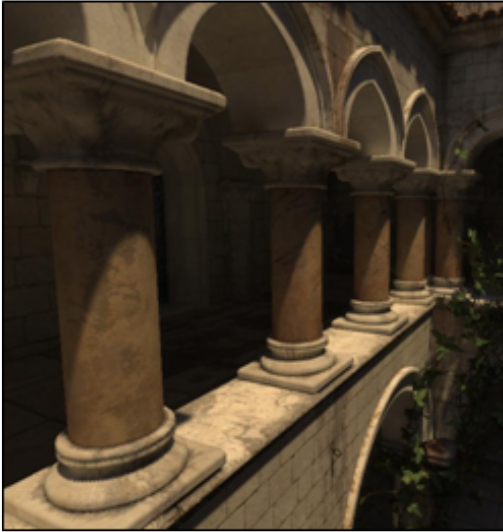
Shadows provide important cues to the depth of objects, scene lighting, and contact points between surfaces.
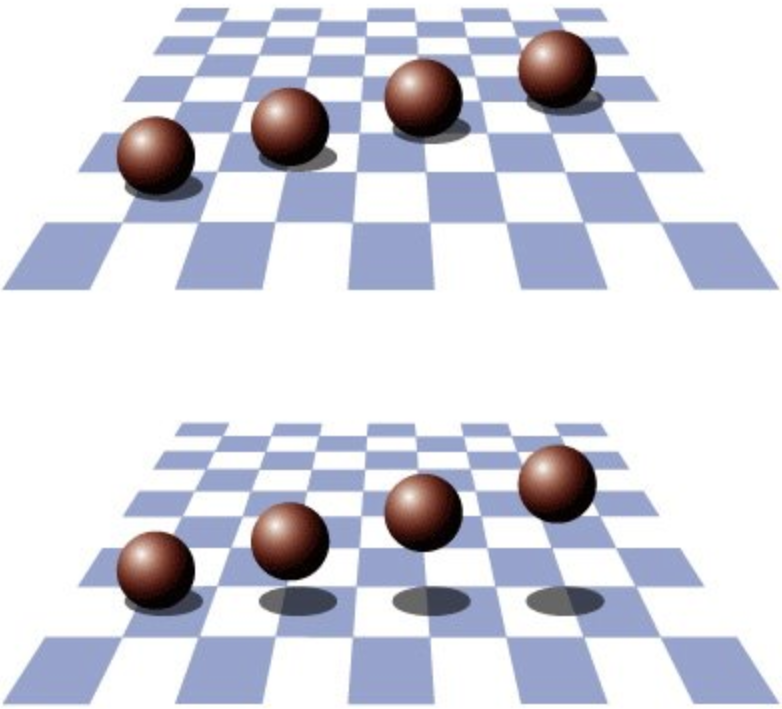
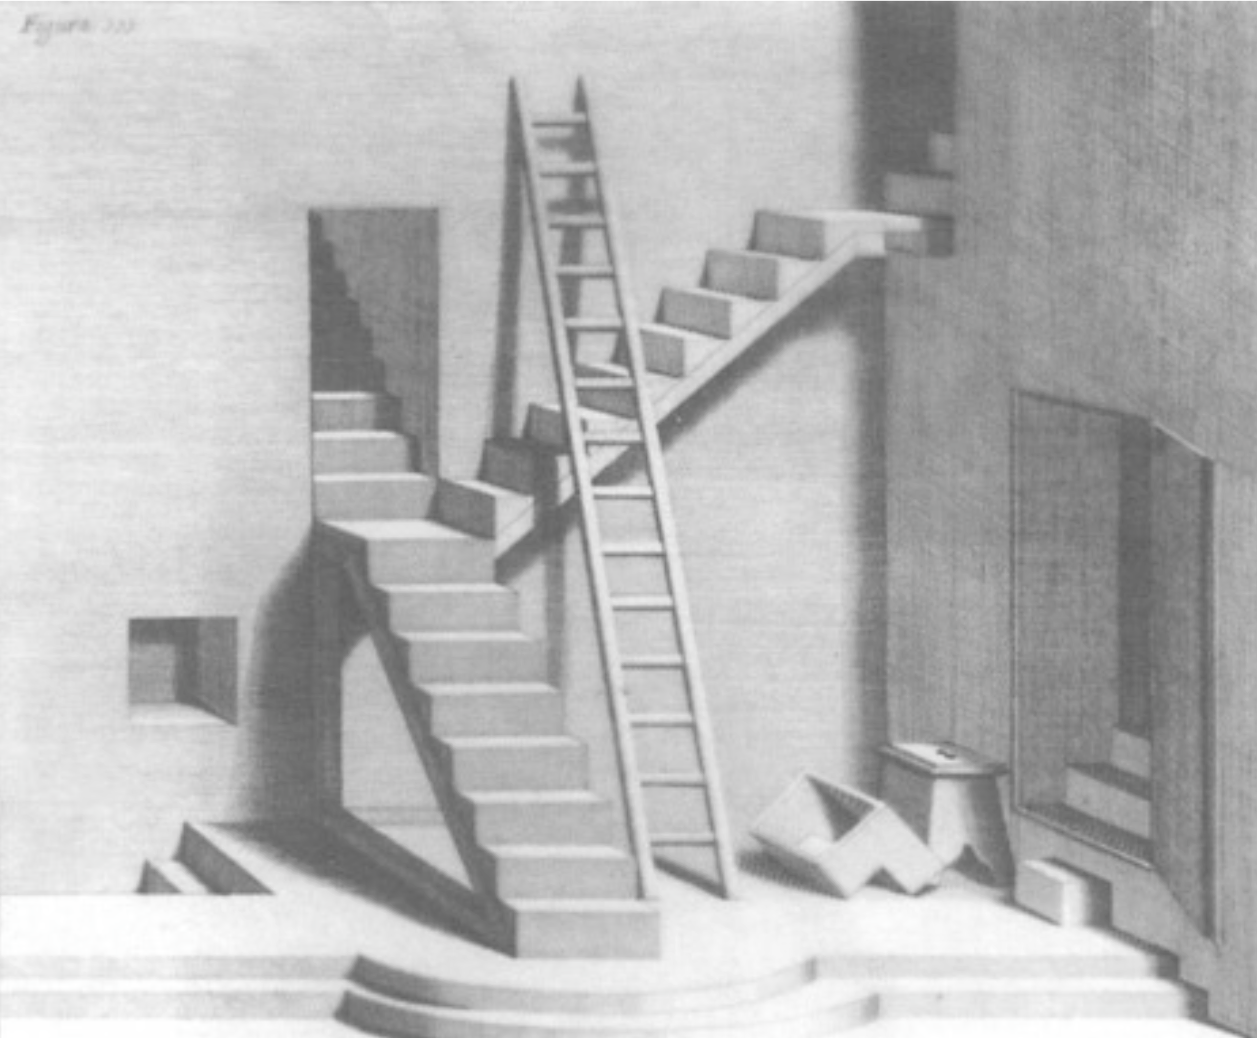
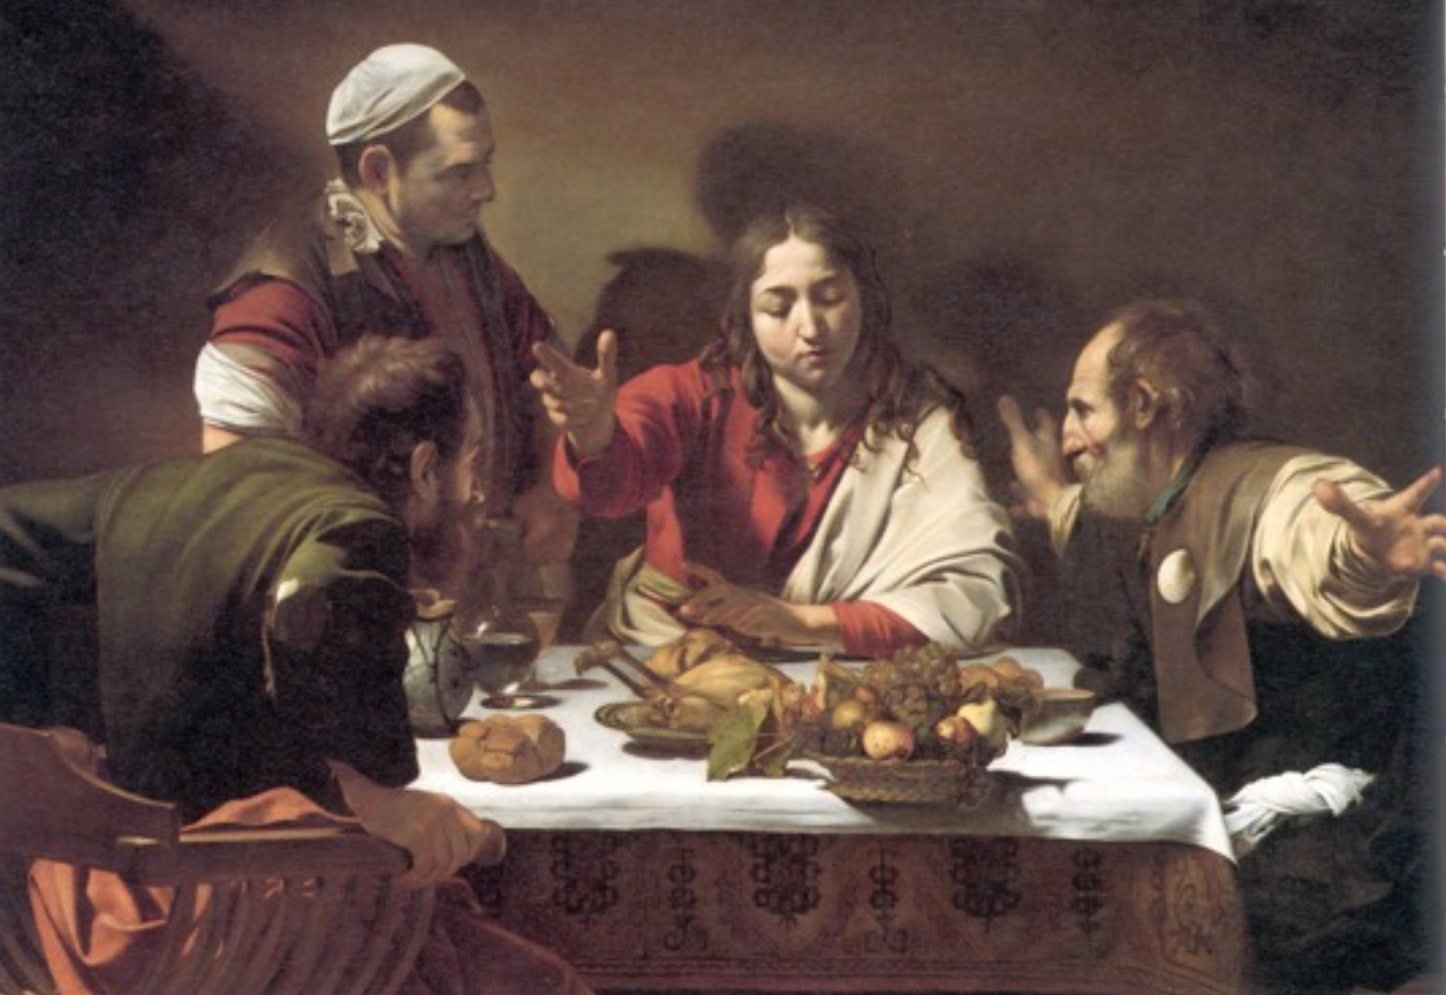
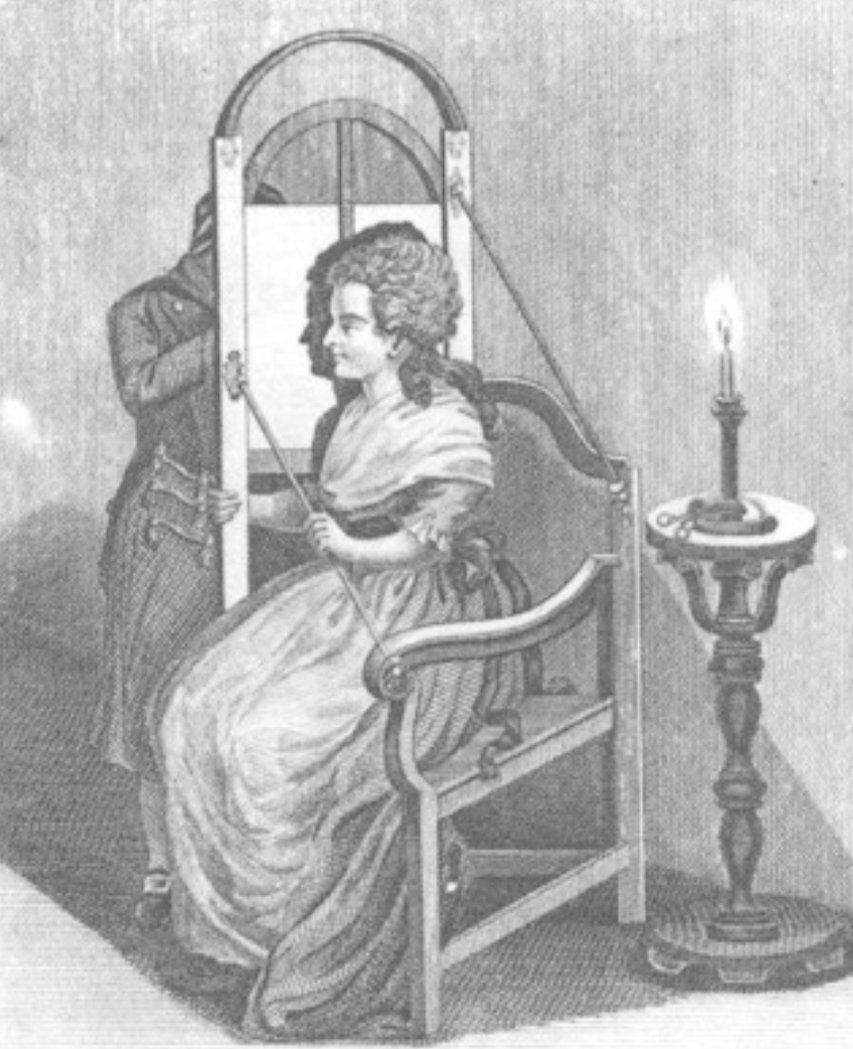
Shadows add realism to paintings and to scenes rendered with computer graphics. They were used as a tool in the early evolution of painting techniques.

Shadow Maps
One common approach to rendering shadows begins with the construction of a shadow map that captures the points on surfaces in the scene that would be “visible” from the light source. You can think of the shadow map as a z-buffer (depth buffer) as seen from the light.
Points that are not visible from the light source should appear in shadow from the perspective of the camera.
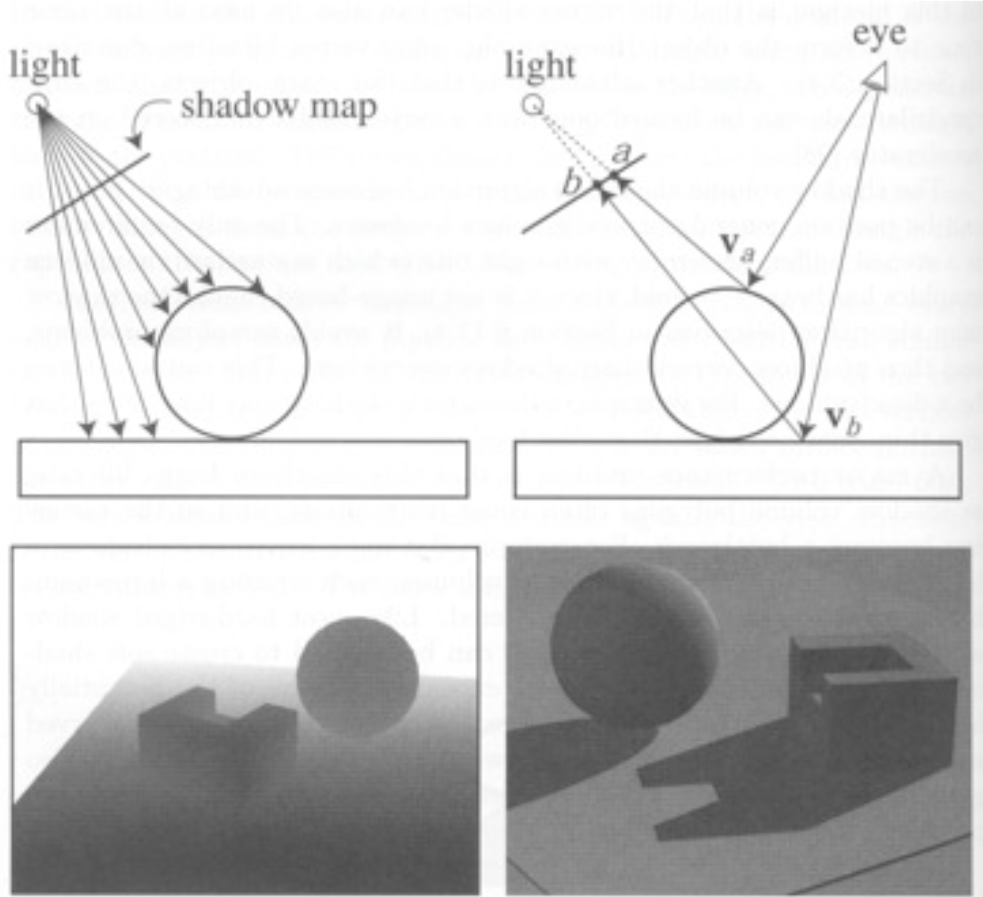
Some graphical scenes with shadow maps as seen from the light source:
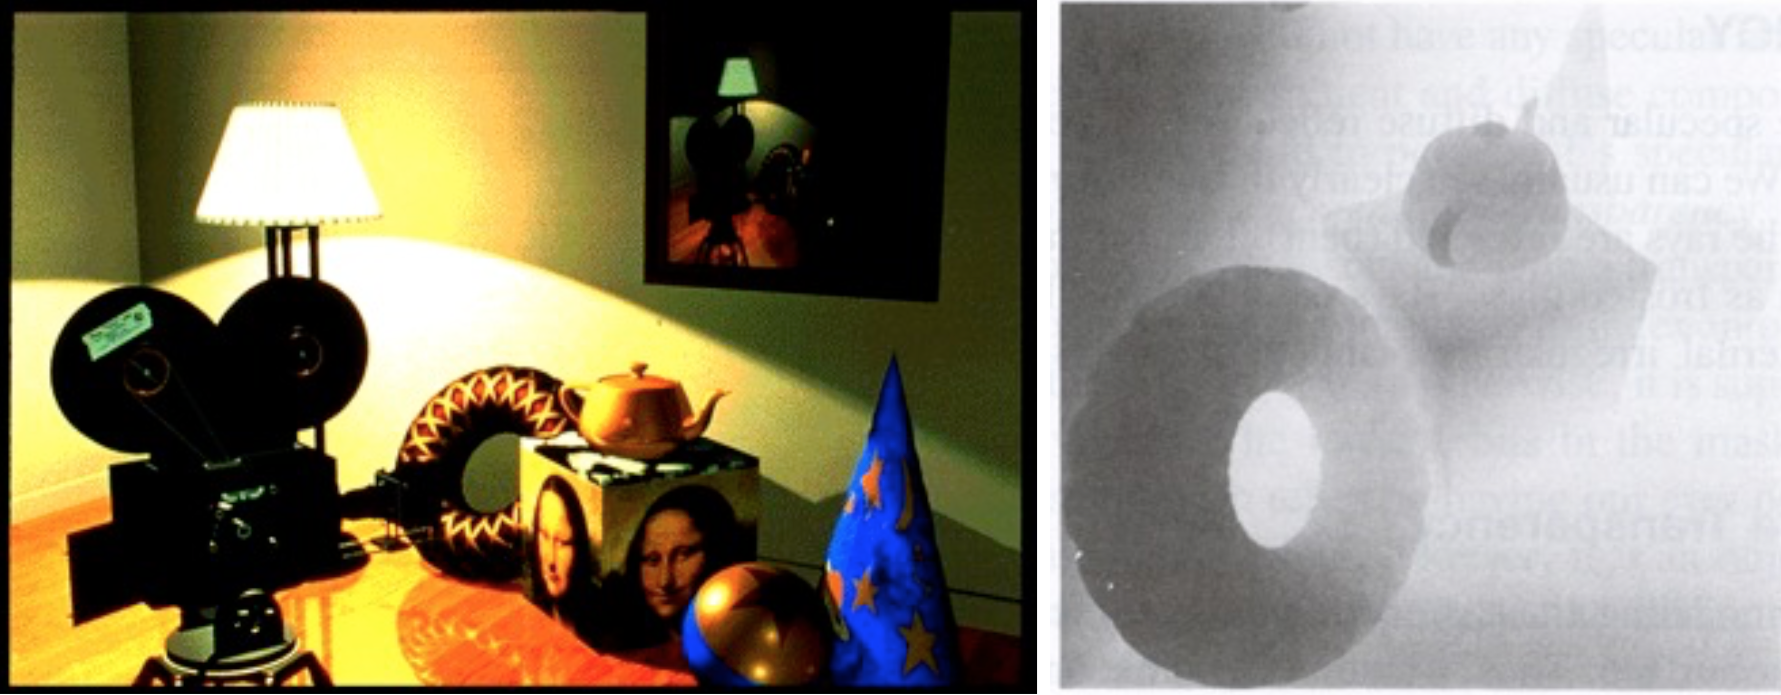
Using a shadow map requires a lot of computation, as the renderer must make two passes through all of the objects to be rendered – one pass to compute the shadow map and a second pass to render the final image, checking the shadow map to see if points are in shadow.
Adding Shadows with Three.js
Adding shadows to a scene rendered in Three.js involves multiple steps:
- The renderer must have the shadow map enabled:
    var renderer = new THREE.WebGLRenderer();
    renderer.shadowMap.enabled = true;
- Each
THREE.Meshobject that can cast a shadow onto a background surface must have itscastShadowproperty set totrue(it appears that this property doesn’t work for the parentTHREE.Object3Dclass), for example:
    var ball = new THREE.Mesh(new THREE.SphereGeometry(10),
                              new THREE.MeshBasicMaterial({color: 0xffffff}));
    ball.castShadow = true;
- Each
THREE.Meshobject that can have a shadow cast onto it must have itsreceiveShadowproperty set totrue(surfaces with Lambert and Phong material can receive shadows):
    var plane = new THREE.Mesh(new THREE.PlaneGeometry(100,100),
                               new THREE.MeshPhongMaterial({color: 0xffffff}));
    plane.receiveShadow = true;
- Finally, the light source also has a
castShadowproperty that must be set totrue. It appears that in our version of Three.js, onlyTHREE.PointLightandTHREE.SpotLightsources can cast shadows, and rendering is not done properly if there are multiple shadow-casting light sources.
    var light = new THREE.SpotLight();
    light.position.set(10,20,50);
    light.castShadow = true;
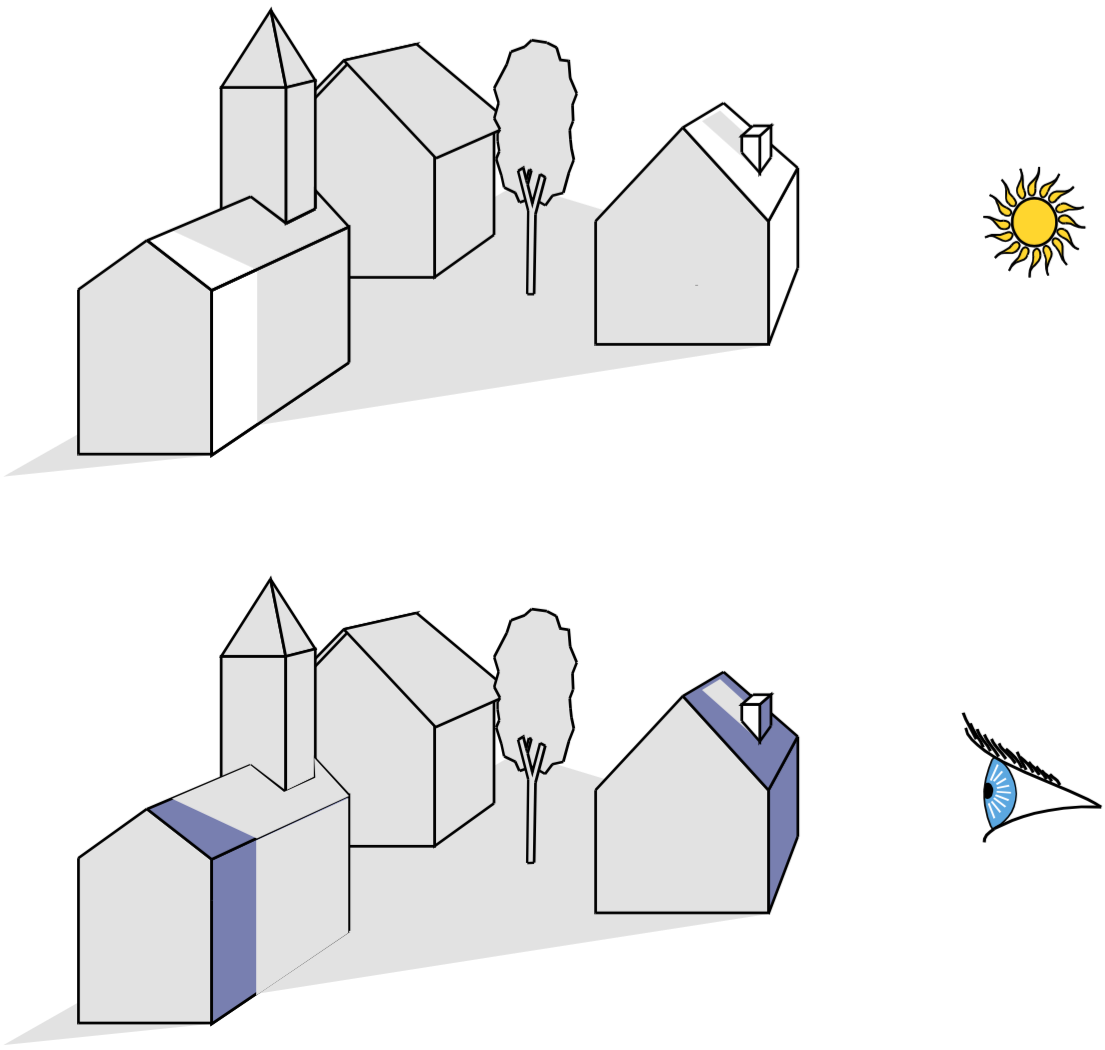
These ideas are incorporated into the following demonstration of our town scene with a sun in the sky that casts shadows on the scene:
town with sun and cast shadows
Anti-Aliasing
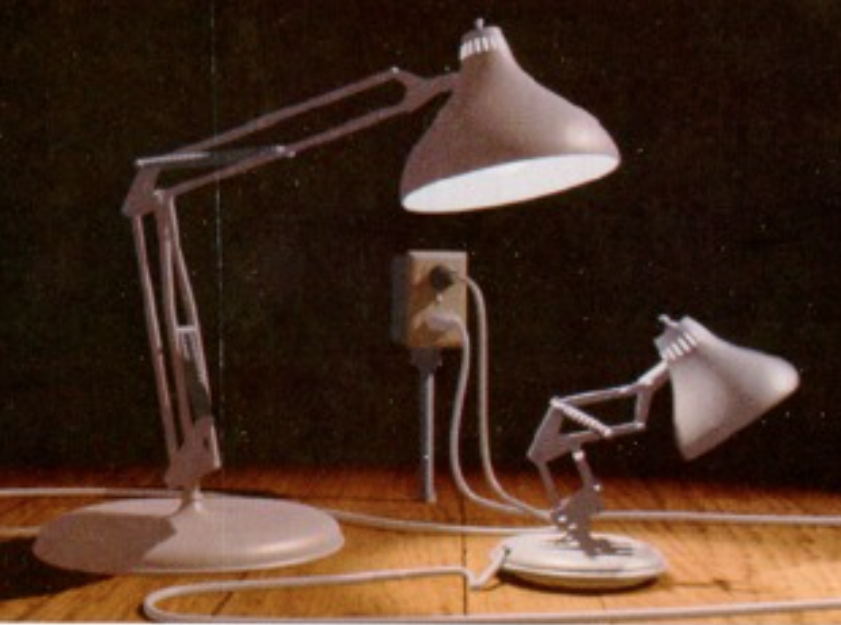
Aliasing is the technical term for “ jaggies”, caused by the imposition of an arbitrary pixelation (rasterization) over a continuous real world. The following are some examples of the effects of aliasing in graphics and photos, borrowed from Fredo Durrant at MIT:
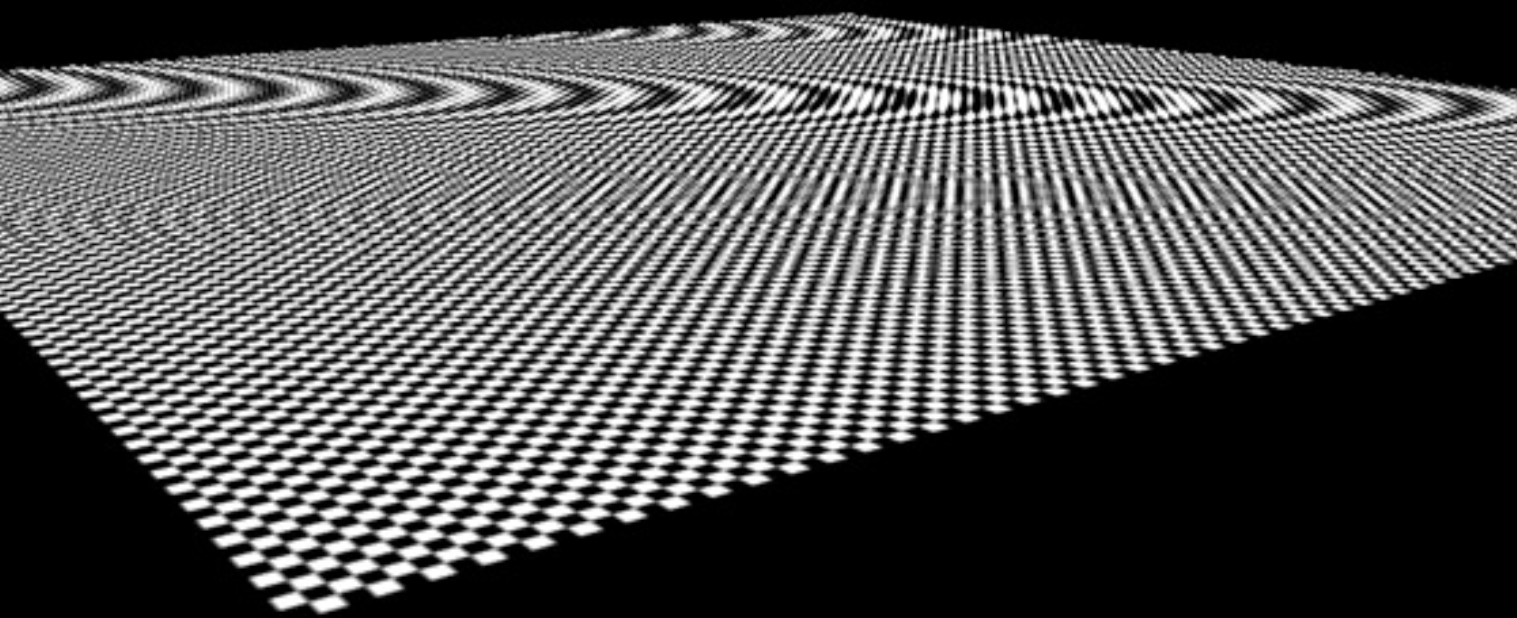
The process of reducing the negative effects of aliasing is referred to as anti-aliasing.
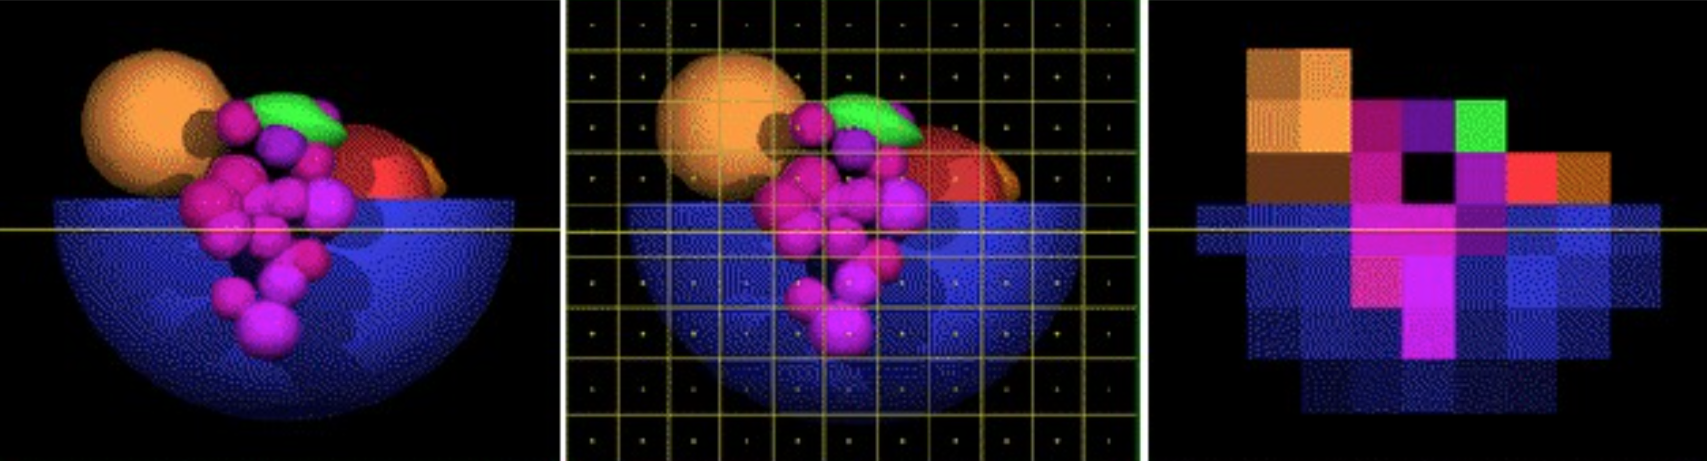
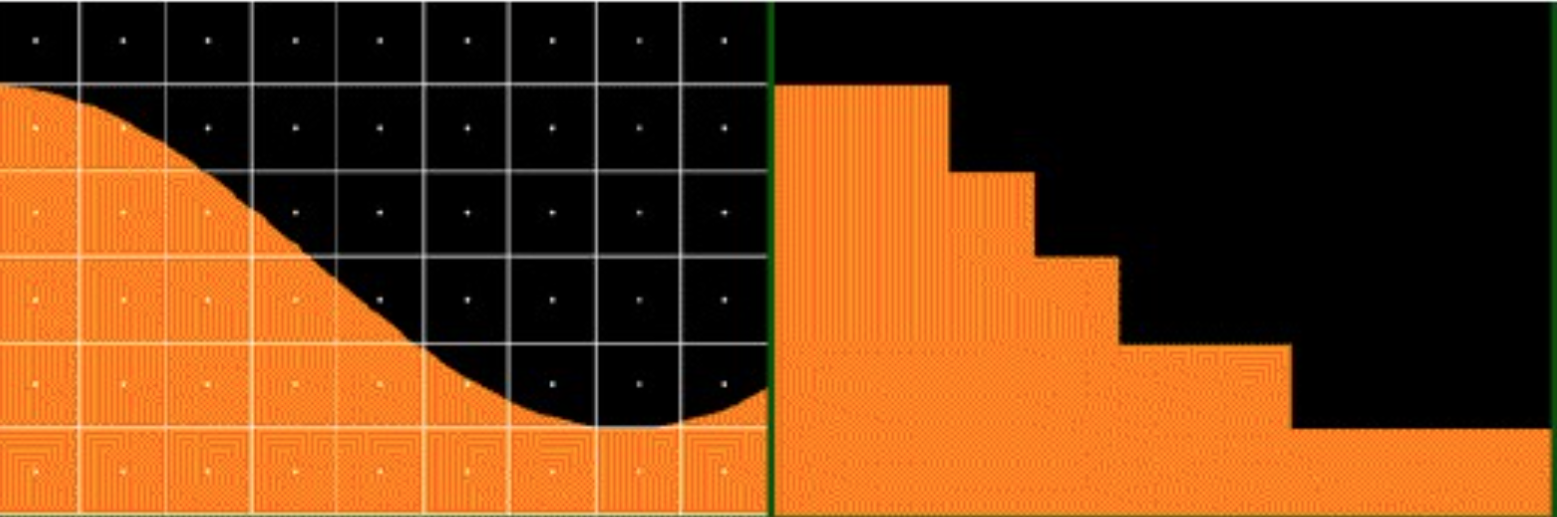
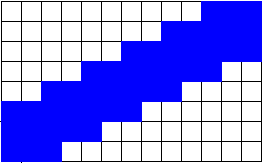
Suppose we draw a roughly 2-pixel thick blue line at about a 30 degree angle to the horizontal:
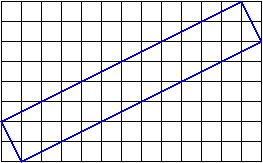
How do we assign colors to the pixels touched by the line? If we only color the pixels that are entirely covered by the line, we get something like this:
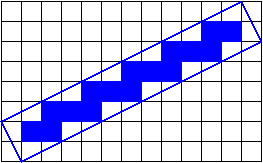
It doesn’t get better if we color the pixels that are covered by any part of the line:
What we want is to color the pixels that are partially covered by the line with a mixture of the line color and the background color, proportional to the amount that the line covers the pixel.
One way to do this is called “jittering”:
- The scene gets drawn multiple times with slight perturbations (“jittering”), so that
- Each pixel is a local average of the images that intersect it.
Generally speaking, you need to jitter by less than one pixel.
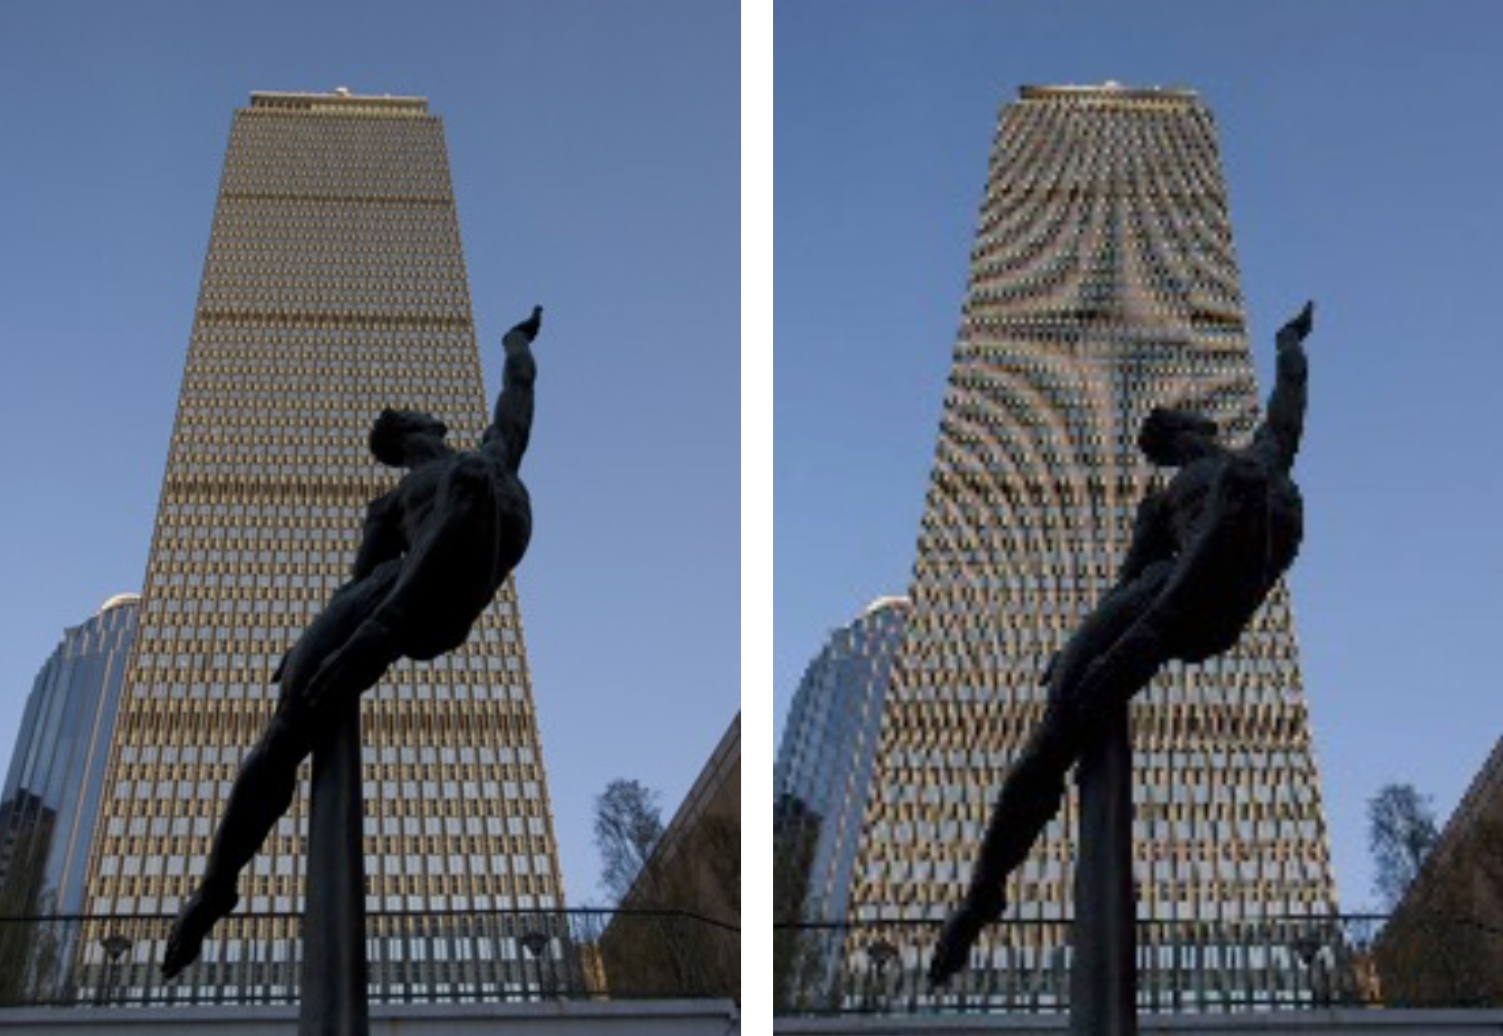
Here are two pictures – the one on the left lacks anti-aliasing and the one on the right uses anti-aliasing:
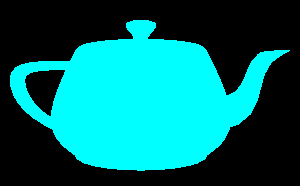
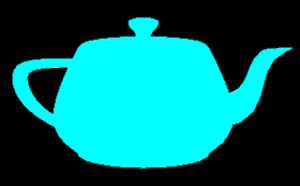
The image on the left lacks anti-aliasing; the image on the right uses anti-aliasing. If you focus closely, the one on the left has sharper edges with jaggies, but if you relax, the one on the right looks better.
One problem with anti-aliasing by jittering the objects is that, because of the mathematics of projection,
- objects that are too far (from the camera) jitter too little
- objects that are too close jitter too much
A better technique than jittering the objects is to jitter the camera , or more precisely, to modify the frustum just a little so that the pixels that images fall on are just slightly different. Again, we jitter by less than one pixel:
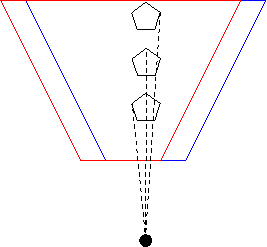
The red and blue cameras differ only by an adjustment to the location of the frustum. The center of projection (the big black dot) hasn’t changed, so all the rays still project to that point. The projection rays intersect the two frustums at different pixel values, though, so by averaging these images, we can anti-alias these projections.
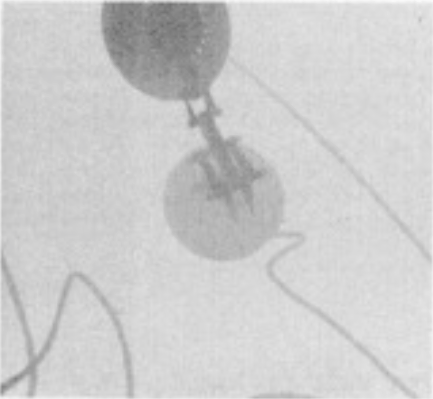
Here’s a red teapot, with and without this kind of anti-aliasing, from an earlier version of this course:
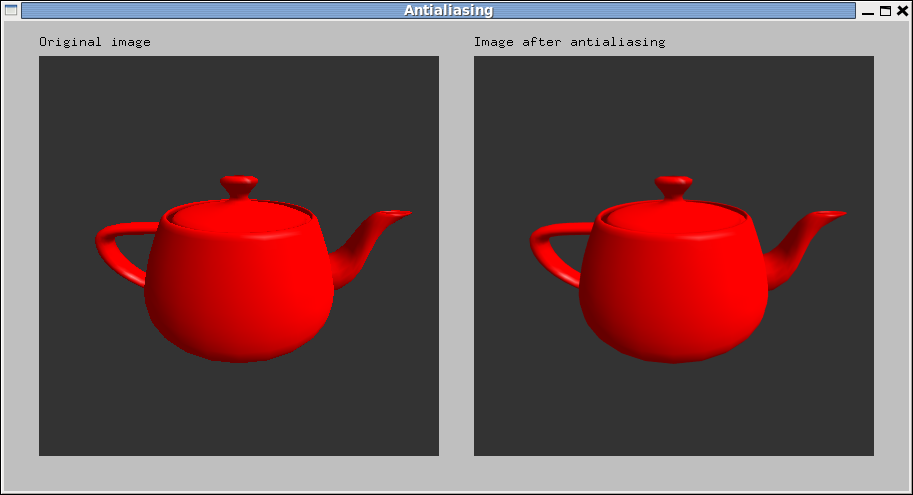
This better approach to anti-aliasing works regardless of how far the object is from the center of projection, unlike the object-jitter mentioned earlier.
Anti-Aliasing in Three.js
Modern graphics cards will do a kind of anti-aliasing for you. They typically do Multi-Sampling Anti-Aliasing.
Here is a demo of anti-aliasing in Three.js:
In Three.js, anti-aliasing is a feature of the renderer:
var renderer = new THREE.WebGLRenderer( {antialias: true} );